How to Create an Appointment QR Code for Your Business


How to Create an Appointment QR Code for Your Business
A QR code on a business card used to feel like a nice extra.
For appointment-based businesses, it can be much more useful than that.
A customer can scan a code on your card, invoice, poster or brochure and go straight to the appointment you want them to book. They don't have to type your website into a browser, search through your menu or send a message asking when you're free.
The useful part, though, is not the QR code itself.
It is the booking page behind it.
A code that leads to the wrong page, shows no available times or makes the customer search for the appointment defeats the whole purpose. So the best way to create an appointment QR code is to start with the booking experience and add the QR code to it.
Here is how that works with Book with Schedulo.
Start with the appointment, not the QR code
Before generating anything, decide what you actually want the person scanning the code to book.
It might be a 30-minute consultation.
It might be a product demo.
A follow-up call.
A paid coaching session.
A lesson.
A service appointment.
The answer usually depends on where the code will be used.
A consultant handing out a business card at an event may want people to book an introductory call. A proposal might need a different booking type for an in-depth consultation. A freelancer could put a QR code on an invoice that takes an existing client straight to a follow-up booking.
This is one reason having separate booking types is useful. With Book with Schedulo, each booking type has its own booking page, shareable link and QR code.
So the first question is not, “How do I make a QR code?”
It is:
“What should happen when someone scans it?”
1. Set the availability for the appointment
Once you know what the QR code should lead to, make sure the appointment can actually be booked.
Set the hours during which you are willing to take the appointment. Think about breaks, existing commitments and how much time you need between meetings.
For example, a consultant who offers 30-minute calls may not want the next customer booking immediately after one meeting ends. A 15-minute buffer can make the whole day much more manageable.
Book with Schedulo lets you set availability and use scheduling rules such as buffer time and booking limits.
This matters more with printed QR codes than it might seem.
A booking link can be changed or replaced relatively easily.
A business card is already in somebody's wallet.
A brochure may have gone to a hundred potential customers.
So get the underlying scheduling setup right before you start distributing the code.
2. Create the booking type people will see
Now create the appointment itself.
The name should tell the customer what they are booking without making them guess.
“Consultation” is workable.
“30-Minute Business Consultation” is better.
“Project Follow-Up Call” may be more appropriate for an existing client.
The description should answer the basic questions someone has before booking: what the appointment is for, how long it takes and anything they should know beforehand.
If you offer more than one service, don't feel that you have to send everyone to the same booking page.
You might have a free introductory call for new prospects and a paid strategy session for people who are already ready to work with you.
Each can have its own booking experience.
That is also where the QR code for appointment booking becomes more useful. Instead of one generic code that sends everyone to your homepage, you can create a code for the exact appointment that makes sense in that context.
3. Generate the QR code for that booking
Once the booking type is ready, generate its QR code.
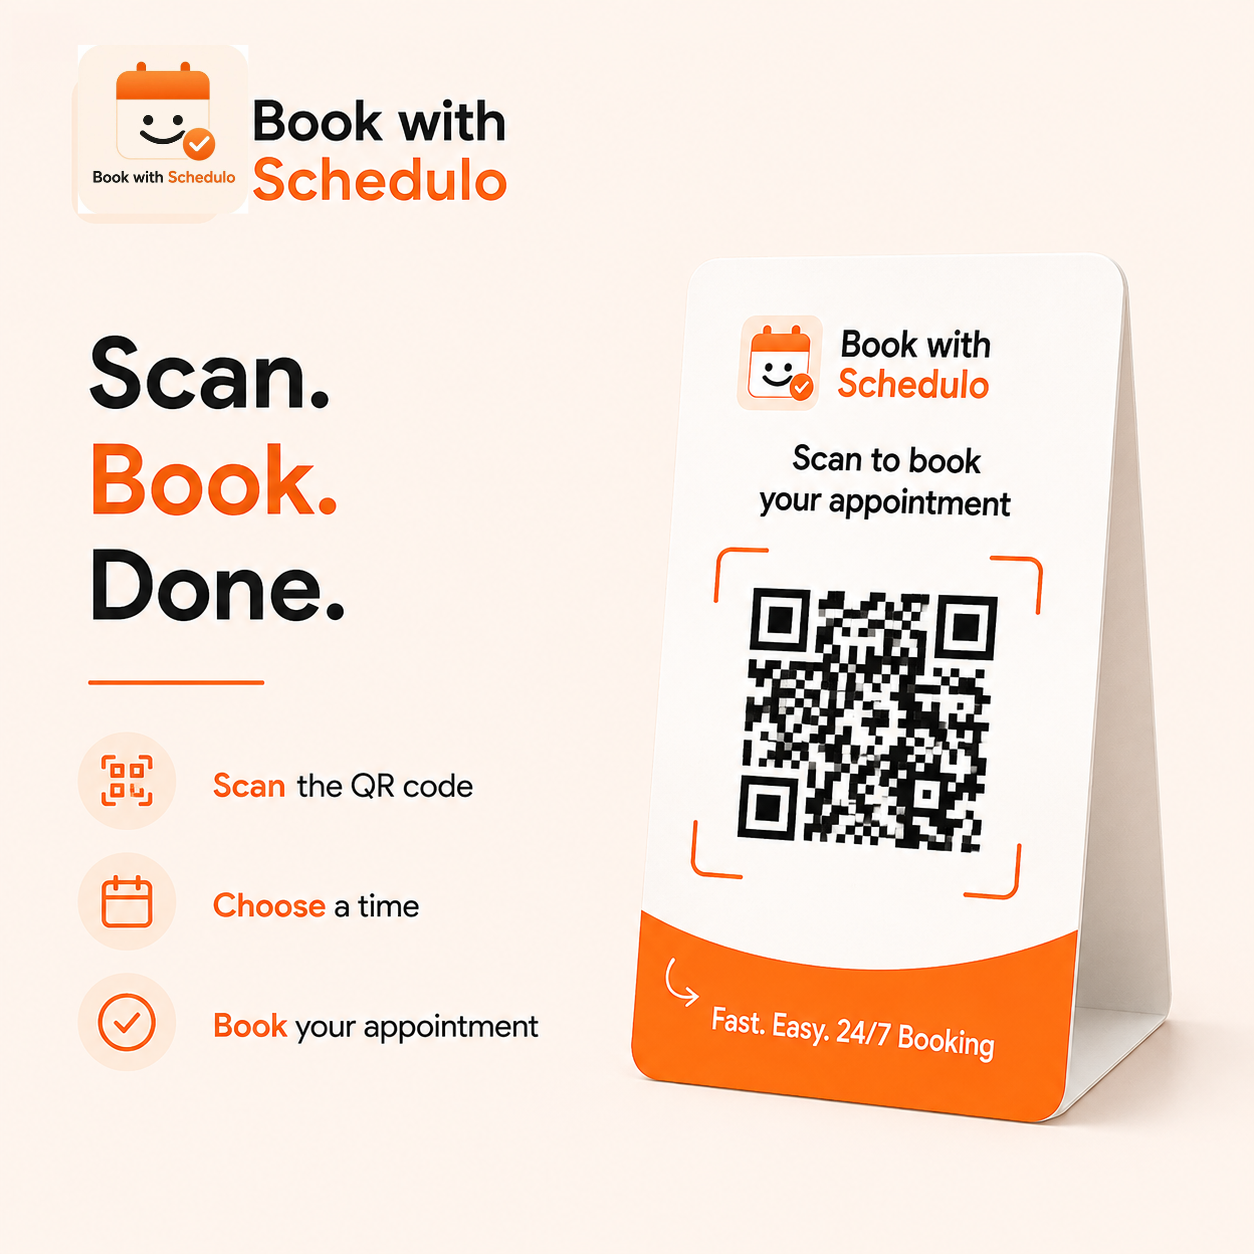
In Book with Schedulo, the QR code belongs to the individual booking type. You can download it as a high-resolution PNG, so the same code can be used in digital material or prepared for print.
Think of the relationship this way:
Booking type → booking page → QR code
The QR code is simply another way for a customer to reach that booking page.
That is why you do not need a completely separate QR-code system alongside your scheduling software.
You already have the appointment.
You already have its availability.
You already have the booking page.
The QR code gives someone a fast way to get there.
4. Download the code at the right quality
If the code is going on something you intend to print, use the original high-resolution file rather than taking a screenshot of it.
This becomes particularly important when a QR code is being added to something small, such as a business card, or something that will be printed professionally.
Keep the original PNG somewhere accessible too.
You may use it more than once.
A consultant might use the same code on business cards and printed proposals. A freelancer could put one on an invoice template. A local business may use it at the front desk as well as on a flyer.
You can also create different QR codes for different booking types instead of reusing one code for every situation.
5. Scan it yourself before anyone else does
This step is easy to skip.
Don't.
Take your phone and scan the actual QR code.
Check the booking page that opens.
Is it the appointment you intended?
Are the available times correct?
Does the page make sense on a small screen?
Can you complete the booking without getting confused?
Do a test booking.
This is especially important before printing a large quantity of material.
A QR code may scan perfectly and still lead to a booking page with the wrong availability. Or perhaps you connected it to a different appointment type than you intended. You do not want to find out after the cards have already been printed.
Book with Schedulo's QR booking flow is designed to open the relevant booking page in the customer's browser. Customers can book without installing a separate app or creating a Schedulo account.
So test the experience the same way your customer will use it: scan, open, book.
6. Put the code where a booking decision is actually likely to happen
This is where an appointment QR code starts doing useful work.
Don't add it just because you have somewhere to print it.
Think about the moment when a person is likely to think, “I should book this.”
A business card is one example.
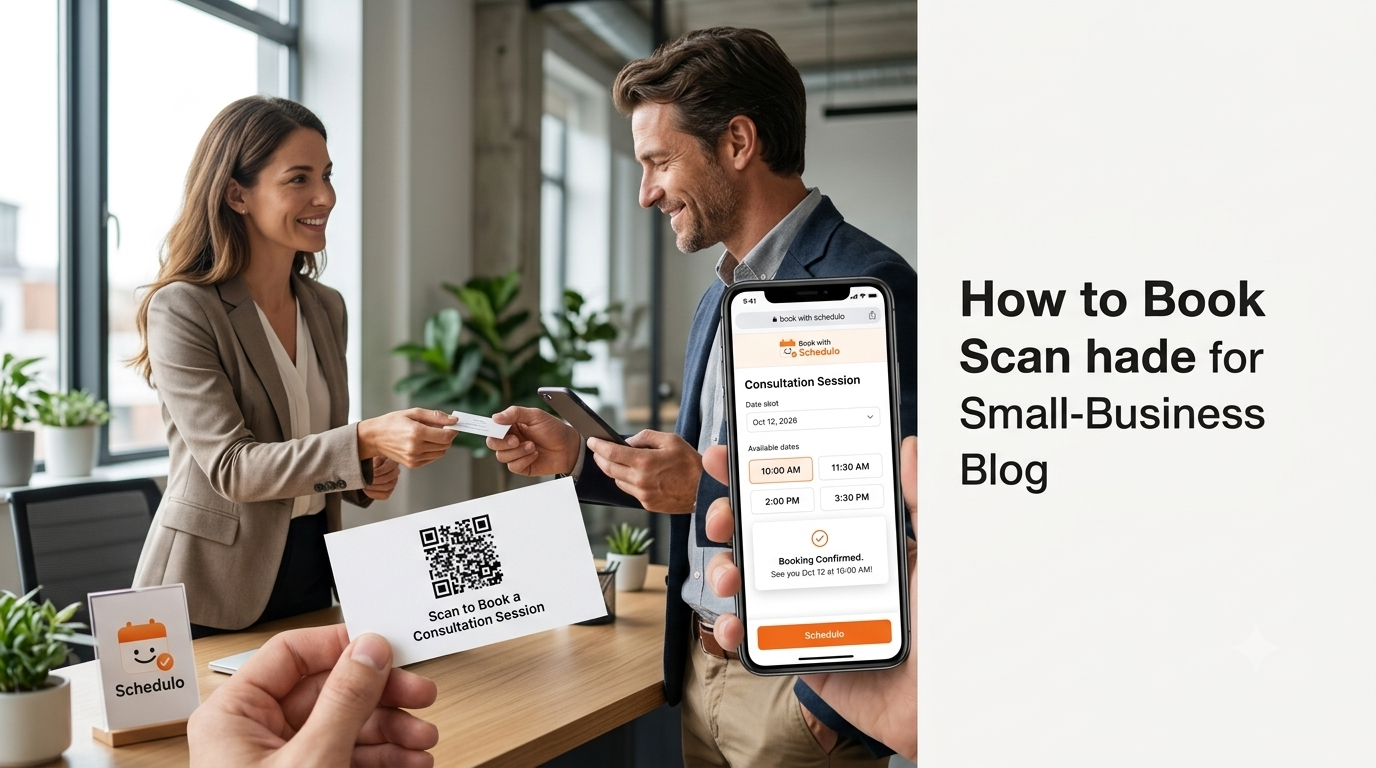
You meet someone at an event. You tell them what you do. Rather than hoping they remember your website later, the card can give them a direct route to an introductory call.
Invoices can work too.
A freelancer might add:
Need another session? Scan to book.
The customer already knows who the business is, so there is very little explanation needed.
Proposals are another good fit. Someone may want to discuss the proposal before making a decision. A QR code can take them directly to the relevant consultation.
For a physical business, the code might sit at reception:
Scan to book your next appointment.
Brochures, posters, workshop handouts and event materials can work in much the same way.
The best location is usually the one closest to the customer's decision.
7. Make the words beside the QR code do some work
A QR code by itself doesn't tell people what happens after they scan it.
A short instruction helps.
Try:
Scan to book a consultation
or
Scan to choose your appointment time
or
Need a follow-up? Scan to book
That is usually enough.
You don't need a paragraph beside it.
You just need to remove the uncertainty.
Someone looking at your business card should know whether the code is for your website, your contact details or an actual booking.
What should the customer see after scanning?
The answer should be as simple as possible.
They should land on the appointment you intended them to book.
They see the service or meeting type.
They see the available times.
They choose one.
They enter the required details and complete the booking.
That's it.
Ideally, the rest of the routine communication happens without requiring you to start another conversation.
Book with Schedulo combines the booking page with availability, confirmations, reminders and appointment management. It also supports sharing booking links through channels such as WhatsApp, so the QR code is just one entry point into the same booking system.
This is important because a QR code should remove work, not create another version of it.
What if the appointment is paid?
The same approach can work for paid services.
Imagine a coach offering a paid one-to-one session.
Instead of putting a general website address on a flyer, the coach could use a QR code that leads directly to the relevant booking type.
The customer scans it, sees the available times and completes the payment required for the appointment.
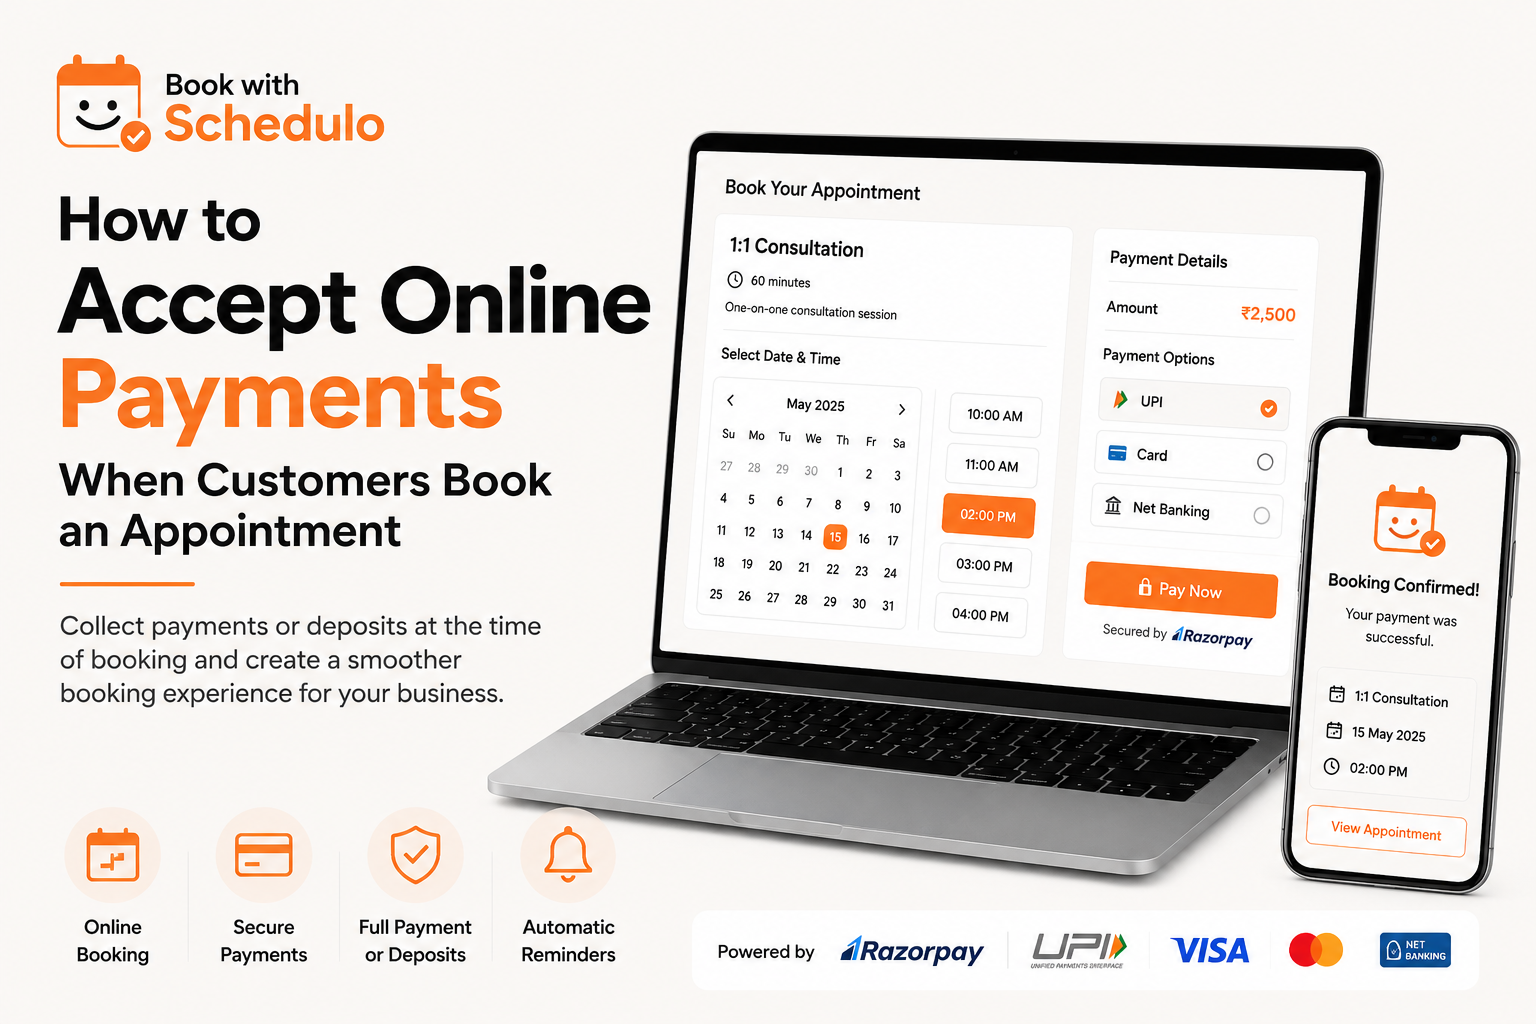
Book with Schedulo supports booking-time payment collection through Razorpay on supported plans, including UPI, cards and net banking.
That can be useful for consultants, tutors, coaches and other professionals who sell appointments rather than simply using them to arrange free calls.
The same principle still applies: the QR code should take the customer as close as possible to the action you want them to take.
QR codes can make offline conversations easier to continue
One of the interesting things about QR booking is that it does not really belong to “online marketing.”
The interaction can start completely offline.
A consultant speaks to someone at an event.
A trainer meets a potential client in person.
A salon customer is finishing an appointment.
A freelancer hands over an invoice.
The customer is interested.
The QR code gives them a way to continue that conversation without needing to remember a URL or wait for a follow-up message.
That is where the booking QR code becomes more than a visual element on printed material.
It connects an offline interaction to a real booking action.
Can you measure whether the QR code is working?
You should look at the bookings the QR code is helping to generate.
Book with Schedulo provides booking analytics, so you can see information around bookings and the performance of your appointment types.
There is an important distinction here, though.
Don't assume that seeing a booking means you have measured the exact number of people who scanned your QR code.
A more practical approach is to use different booking types when you have different campaigns or purposes.
For example, you might have one booking type for networking introductions and another for proposal consultations.
Each can have its own QR code.
Now you have a clearer way to see which booking destination is actually generating appointments.
The question becomes less about how many people scanned and more about whether the QR code is leading to the outcome you wanted.
A few things that can go wrong
Most QR-code problems are surprisingly ordinary.
The biggest one is sending people somewhere other than the booking page.
A code that opens your homepage makes the customer do more work.
Another is printing the code without testing it first.
Then there is the booking setup itself. The QR code may be perfectly fine while your availability is wrong.
There is also the temptation to use one generic booking page for every situation.
Sometimes that is exactly what you need.
Sometimes it isn't.
If the person holding your business card should book a different appointment from someone responding to a proposal, separate booking types will make more sense.
And finally, don't forget the instruction beside the code.
“Scan to book” is much clearer than putting a QR image on a page and assuming everyone will know what it is for.
A straightforward way to create an appointment QR code
Once the setup is understood, the process is quite short:
Decide what the person should book.
Set the availability for that appointment.
Create the booking type.
Generate its QR code.
Download the high-resolution file.
Scan it and complete a test booking.
Put it where customers are already likely to want to book.
Then leave the booking process to do its job.
Your customer doesn't need to understand how the QR code works. They only need to know what happens when they scan it.
For more information about the product side of this setup, see the Book with Schedulo QR Code Booking page.
You can also read our broader guide to QR code appointment booking, which covers the different places businesses can use QR codes and why they can be useful for offline-to-online booking.
And if you're still setting up the booking experience itself, our guide on adding online appointment booking to your website covers that side of the process.
A good QR code should make the next step obvious.
Someone is interested.
They scan.
They see when you're available.
They book.
That's the whole point of using a QR code for appointment booking.